实例实现了ZkClient对Zookeeper节点的操作, 包括节点的创建, 删除, 数据的修改, 判断节点是否存在, 获取相应结点子节点列表, 给节点添加Object对象的数据, 监听节点以及子节点列表的变化, 监听节点数据的变化
项目对应的实例代码可以通过【下载实例】按钮获取
开发工具: Eclipse Mars, JDK1.7, Maven 3.0.2, zookeeper-3.4.12
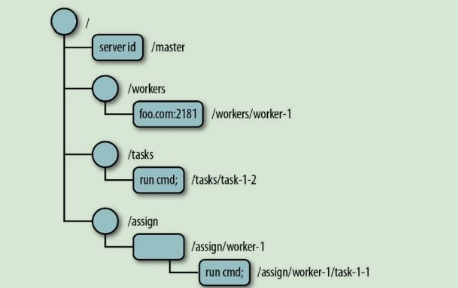
【项目包含内容】(见下图):

使用 Eclipse Mars打开

1. Zookeeper的安装与启动 ----Zookeeper为单机版windows
在页面右侧下载Zookeeper对应的版本(请保持与本工程一致), 解压下载的tar包, 将 F:\Program Files\zookeeper-3.4.12\conf(此根据自己的安装目录进行配置) 下的 zoo_sample.cfg 改为 zoo.cfg, Zookeeper会使用此配置文件, 其中clientPort为监听端口, dataDir为数据目录, dataLogDir为日志目录
zoo.cfg内容如下:
1 2 3 4 5 6 7 8 9 10 11 12 13 14 15 16 17 18 19 20 21 22 23 24 25 26 27 28 29 | # The number of milliseconds of each ticktickTime=2000# The number of ticks that the initial # synchronization phase can takeinitLimit=10# The number of ticks that can pass between # sending a request and getting an acknowledgementsyncLimit=5# the directory where the snapshot is stored.# do not use /tmp for storage, /tmp here is just # example sakes.dataDir=F:\\Program Files\\zookeeper-3.4.12\\datadataLogDir=F:\\Program Files\\zookeeper-3.4.12\\log# the port at which the clients will connectclientPort=2181# the maximum number of client connections.# increase this if you need to handle more clients#maxClientCnxns=60## Be sure to read the maintenance section of the # administrator guide before turning on autopurge.## http://zookeeper.apache.org/doc/current/zookeeperAdmin.html#sc_maintenance## The number of snapshots to retain in dataDir#autopurge.snapRetainCount=3# Purge task interval in hours# Set to "0" to disable auto purge feature#autopurge.purgeInterval=1 |
双击 F:\Program Files\zookeeper-3.4.12\bin 下的 zkServer.cmd 启动 zookeeper服务
双击 F:\Program Files\zookeeper-3.4.12\bin 下的 zkCli.cmd 启动zookeeper的客户端命令行连接, 输入 ls / 查询根路径下节点, 能正常访问说明zookeeper启动成功(见下图)

配置Zookeeper的环境变量: ZOOKEEPER_HOME: 安装目录 和 path: %ZOOKEEPER_HOME%\bin
2. 下载实例代码, 用Eclipse Mars打开工程, 分别运行相应的main函数来测试相应的功能
创建节点
public class CreateNode {

	public static void main(String[] args) {
		ZkClient zc = new ZkClient("127.0.0.1:2181",10000,10000,new SerializableSerializer());
		System.out.println("conneted ok!");


		User u = new User();
		u.setId(1);
		u.setName("test");
		String path = zc.create("/jike5", u, CreateMode.PERSISTENT);
		System.out.println("created path:"+path);
	}

}
获取节点数据
public class GetData {

	public static void main(String[] args) {
		ZkClient zc = new ZkClient("127.0.0.1:2181",10000,10000,new SerializableSerializer());
		System.out.println("conneted ok!");

		Stat stat = new Stat();
		User u = (User)zc.readData("/jike5",stat);
		System.out.println(u.toString());
		System.out.println(stat);

	}

}
其它功能请下载代码进行学习
 下载Demo